This post may contain affiliate links which means we may receive a commission for purchases made through links. Learn more
On-Stage Drum Disasters: A Drummer’s Guide to Emergency Fixes
By Matt Donald
You’ve done it. After years of dedication and sacrifice, your band is finally in the opening slot of a sold-out show at the biggest venue in town. The headliner’s monitor engineer is loving your mix, the crowd is singing along, and real celebrities are smiling in the wings. You and the band are playing like fiends – it’s perfect.
Then, with the split-second speed of a sucker-punch, you know something has gone terribly wrong. A nauseating shock shoots through your body. Your kick pedal isn’t returning. You look down to see the headless beater buried in a ripped bass drum head. In that incapacitating nanosecond, you must find the clarity to shut out the panic and solve the situation.
No doubt when DRUMtronix! assigned this article, they sought a player who was the perfect combination of MacGyver and village idiot – someone half-witted enough to get into such predicaments, while being (usually) resourceful enough to get out.
So join me, won’t you, as we draw upon a long career fairly teeming with such terrifying moments. Let’s retroactively make some good out of a few of the horrifying experiences I’ve endured, and equip you for your next on-stage emergency.
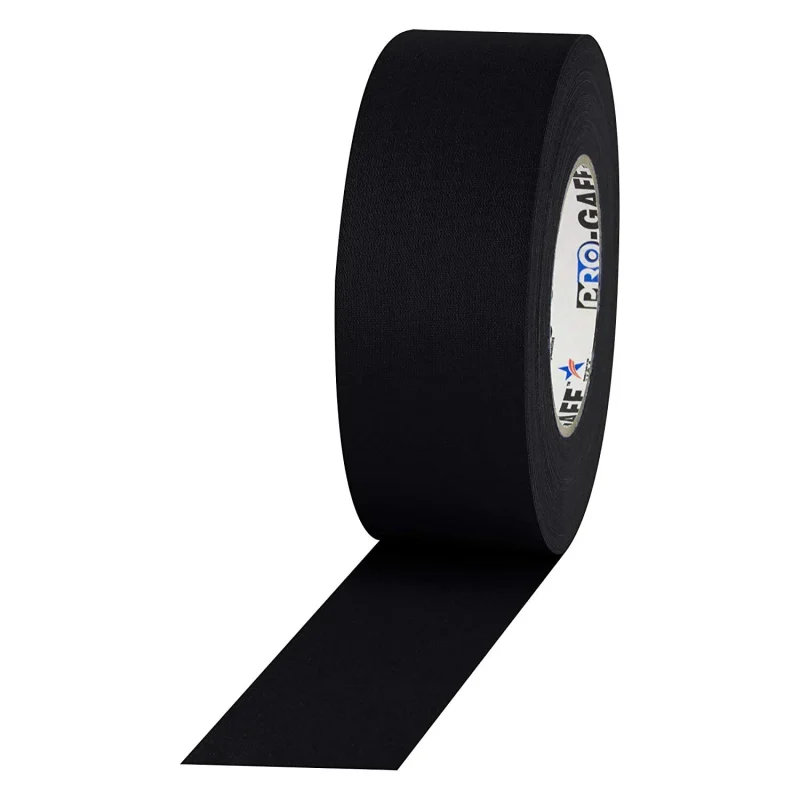
The Ultimate Fix-All: Black Cloth Tape (Gaffer’s Tape)
Paramount among all emergency fixes is gaffer’s tape, also known as duct tape, or as some simply call it: “rock and roll tape.” This stuff is responsible for more foolproof fixes than the Nevada Boxing Commission.
- Quality Matters: Don’t skimp on the quality – get the good stuff. It can be found at most serious hardware or plumbing supply stores.
- Best Type: The black cloth tape is the strongest and will leave the least amount of sticky residue when removed (you really should remove it and actually fix the problem at some point).
- Investment: It’s not cheap, but it’s well worth it. I keep a roll in my backup snare case that stays next to me on stage.
Snare Drum Catastrophes: Heads, Stands, and Swaps
By now, you know a broken head can put a huge gap in your groove. (By the way, change those heads regularly!)
- Torn Snare Heads: When your snare drum craps out, throwing a new drum into play is often preferable to trying to do an on-the-spot repair.
- The Backup Snare: Having a second snare already set up will accomplish this smoothly and quickly, especially with the help of a monitor person.
- The Altoona Nightmare: I’ve arrived at gigs to find, to my horror, that the bottom head on my snare is torn. Try finding a snare head at 7:00 P.M. in Altoona, Pennsylvania! I always pack new batter and snare heads, upside down, inside the top rim of the backup snare. New snares and cords (or whatever you use to attach your snares) fit snugly inside these.
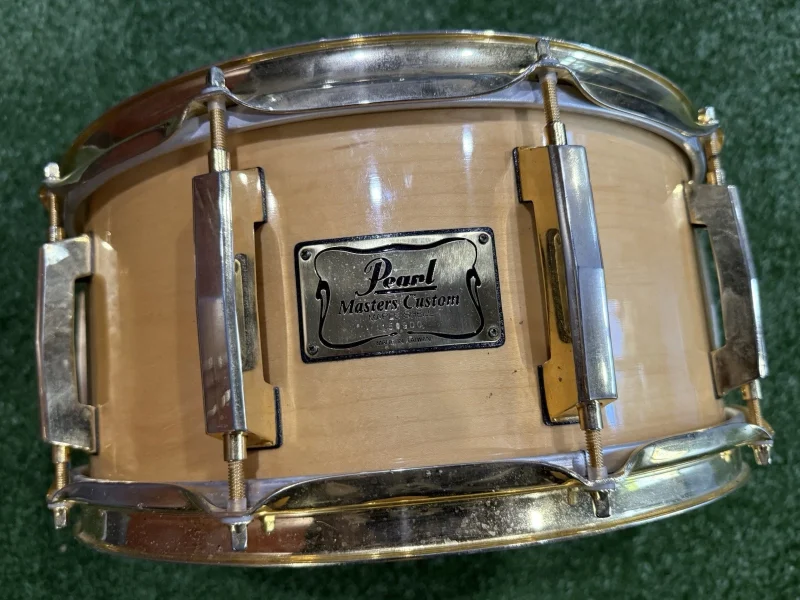
- Snare Stand Failure: If your snare stand goes, it’s generally a tape-up job — and lots of it!
The Humble Drum Throne: A Critical Check
As far as your stool is concerned, not much can go wrong here. Bear in mind though that however unlikely collapse might be, if that stool goes during your show, it goes fast — and usually with disastrous results. Always give it a quick once-over during set-up.
Hi-Hat Headaches: Clutch and Pull Rod Woes
The hi-hat offers plenty of margins for error. I’ve found the two most popular trouble spots to be the clutch and the pull rod. It’s usually one of two things: something’s either stripped, or has come unscrewed.
- The Clutch: I always carry an extra clutch in my stick bag; they’re small and can get you up and running quickly. Always check first, though, to see if the lower (inside) threaded washer has simply backed off.
- The Pull Rod: The pull rod is not so simple. Typically, the lower and upper pull rod assemblies come apart. Again, make sure the bottom one (or the top one) hasn’t just backed off. The threaded connector between the two rods will occasionally back down the lower rod due simply to gravity and time, leaving insufficient room for the upper rod to be adequately screwed in. During setup, occasionally check to make sure this is not happening.
- Stripped Threads: If the grooves on any of the three pieces have stripped, you’ve got the thin hope of gaffer’s tape to hold it all together, which isn’t terribly likely if you tend to stomp that pedal. Often, your best bet is to set the cymbals at the distance relative to that which you most often play (e.g., slightly apart for sloshy sounds, closed tight for funk stuff) and just play with it.
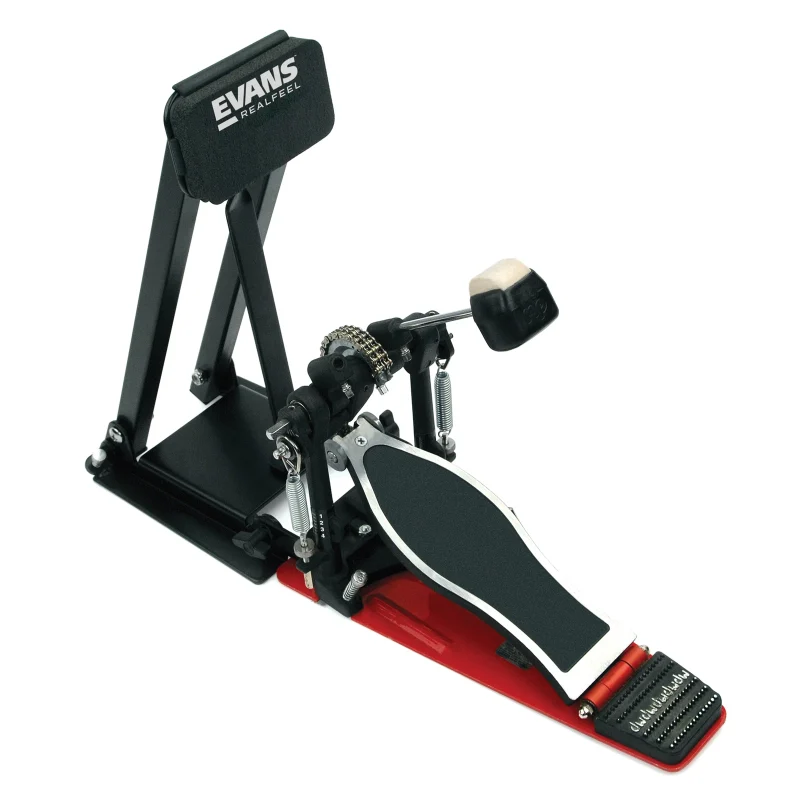
Bass Drum Blight: Rips, Slips, and Pedals
Speaking of pedals, the bass drum offers a hornet’s nest of possibilities.
- Backup Pedal: I carry an old, collapsible pedal in my trap case. Today’s pedals are often permanently mounted on a footboard, but many older ones fold down flat for storage. These take up very little space and will almost certainly take less time than remounting a spring assembly, or even refastening a thrown beater.
- Ripped Kick Drum Head: To address the nightmare situation described in the introduction, I carry a cutout section of an old floor tom head for patching purposes.
- Patching Technique: Secure the patch to the beater side of the head, and cover (and I mean cover) the patch concentrically, inside and out, with — right you are — gaffer’s tape.
- Crucial Tip: Be sure you don’t get tape in the area where the beater makes contact with the head. If this happens, the beater will soon wear through the tape and begin to stick to the adhesive beneath — trust me.
- More than once, this little trick has gotten me to the break, when I can put on a fresh head (stored the same way I stash the snare and all other spare heads).
- The “Dancing Drum” (Slipping Bass Drum): In the event of a slipping bass drum, a small, heavy object placed directly against the front of the drum, with — you guessed it — the bejesus taped out of it, will usually get you through the set. Occasionally, stagehands will have sandbags or iron weights that will serve the purpose.
- Drum Rugs: There are still venues out there that, mystifyingly, don’t have drum rugs. I purchased a rubber-bottomed doorway rug at one of those behemoth hardware stores for about $15. Well worth the investment.
Cymbal Stands & Accessories: The “Bag of Tricks”
“How about cymbal stands?” you may well ask. This is a good place to recommend the “bag of tricks.”
[Insert Photo 5: A clear baggie with various small drum hardware bits (felts, washers, wingnts, etc.)]
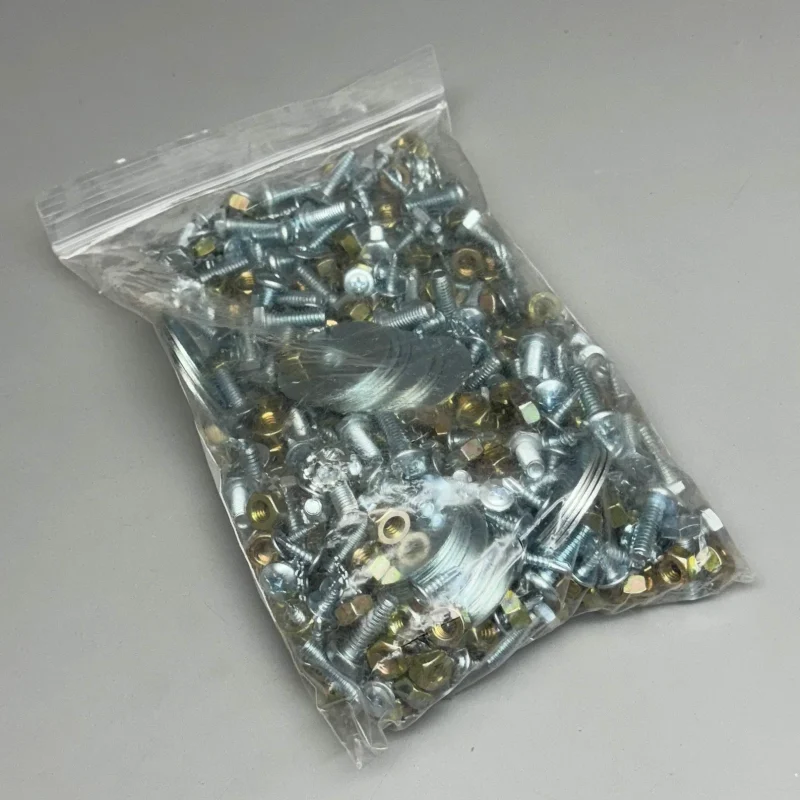
- Contents: A baggie filled with felt pads, washers, wing nuts, rubber sleeves, tension rods — all the little necessities that are the percussive equivalent of laundry day’s mysterious missing sock.
- Portability: The bag fits nicely into the pocket of your stick bag, and you’ll be glad you have it.
- Allen Wrenches: Certain pieces of hardware, specifically pedals, require Allen wrenches for adjustments. The “B.O.T.” is a good place to keep these tiny, easy-to-lose tools.
- Stand Collapse: As to the actual stands, it’s (the envelope, please), once again, “butt-loads of tape!” Should a leg collapse, prop it up and lay on the tape.
- Stripped Tilters: If a tilter should strip out, a “splint” can be fashioned out of a broken stick or two, and gobs of tape that will reconnect it to the main arm of the stand. Not ideal, definitely not permanent, but usually acceptable for the moment.
Broken Tom Heads & Memory Locks
- Quick Fix for Torn Tom Heads: Simple. Remove the Swiss Army-style knife from your stick bag (you do have one, right?), and with the scissors, cut away as much head as possible, then flip the drum over. Come break time, you just replace the heads (being sure to secure new ones as soon as possible, as you never know when a good head will go bad).
- Memory Locks: Memory locks are useful devices, not only during set-up, but at repair time, as well. For instance, if the positioning/locking assembly on your floor tom leg strips out, the drum will rest more stably on the memory lock, and can be secured with — do I even need to say it? Gaffer’s tape!
- Hose Clamp Alternative: If your hardware didn’t come with these cool little gadgets, you can use hose clamps, purchased at a hardware or auto supply store for next to nothing. Word of warning: Because hose clamps won’t stay as secure as the factory-installed units, frequent retightening is required.
Cymbal Cracks: The Inevitable and the “Cul-de-Crack”
Cymbals are the only thing left I can think of, and I’m afraid there are not only no quick fixes, but no guaranteed repairs of any type. The only surefire cure for a cracked cymbal is a new cymbal.
The one good thing (if one can call it that) about a cracked cymbal is that it usually takes quite a while to spread to the point at which the cymbal is unusable, and is therefore highly unlikely to be a show-stopper — a mood-buster, yes, but not a show-stopper.
My one suggestion for staving off the inevitable is to drill a hole slightly larger than the crack, at the point at which it stops — a sort of “cul-de-crack,” if you will. This will hopefully arrest the spread and give you and your cymbal more time together before it’s relegated to the practice kit.
Final Advice: Invest in Gaffer’s Tape
In closing, I’d like to leave you with one piece of advice more valuable to your future than everything else in this article combined: Buy stock in gaffer’s tape, and buy big. Your children will thank you.