This post may contain affiliate links which means we may receive a commission for purchases made through links. Learn more
Learning to record drums can feel like learning a new instrument all over again, but it’s one of the most rewarding experiences for any musician. The sheer complexity of a drum kit—with its array of percussive elements, from the deep rumble of the kick to the crisp clang of the cymbals—presents a unique challenge. You’re not just miking a single instrument; you’re capturing an entire ensemble of boss sounds. A great drum recording starts not with expensive gear, but with a solid understanding of microphone placement. The position of a mic can dramatically alter your sound, and a well-placed mic can make a budget kit sound professional, while a poorly placed mic can ruin a high-end one. This guide will walk you through five essential drum mic setups, giving you the tools to record your drums like a pro and feel inspired every time.
- First Things First: Getting Your Room and Drums Ready
- Setup 1: The One-Mic Wonder (A Great Starting Point)
- Setup 2: Spaced Pair Overheads (The Classic Studio Vibe)
- Setup 3: The Glyn Johns Method (The Rock and Roll Alternative)
- Setup 4: The Three-Mic Approach (The Perfect Next Step)
- Setup 5: The 'What You Hear vs. What They Hear' Method
- Going Beyond: Level Up Your Miking Game
- Conclusion: It's All About Trusting Your Ears
First Things First: Getting Your Room and Drums Ready
Before you even think about putting a mic on a stand, you’ve got to take care of the basics. A microphone can only capture the sound that’s already in the air, so the most crucial steps happen long before you hit the record button.
- Tune Your Drums: Seriously, this is a big one. A poorly tuned drum will sound bad no matter how much you spend on microphones. Take the time to get your drums sounding great before you start.
- Manage Your Room: Think of your room as a part of your instrument. Clap your hands and listen for echoes and unwanted reflections. Placing some pillows, blankets, or other absorptive materials on walls can make a huge difference.
- Find Your Quietest Spot: Turn off any noisy stuff like fans or air conditioning. You want your recording to be clean, so you don’t have to deal with a constant hum later.
Setup 1: The One-Mic Wonder (A Great Starting Point)

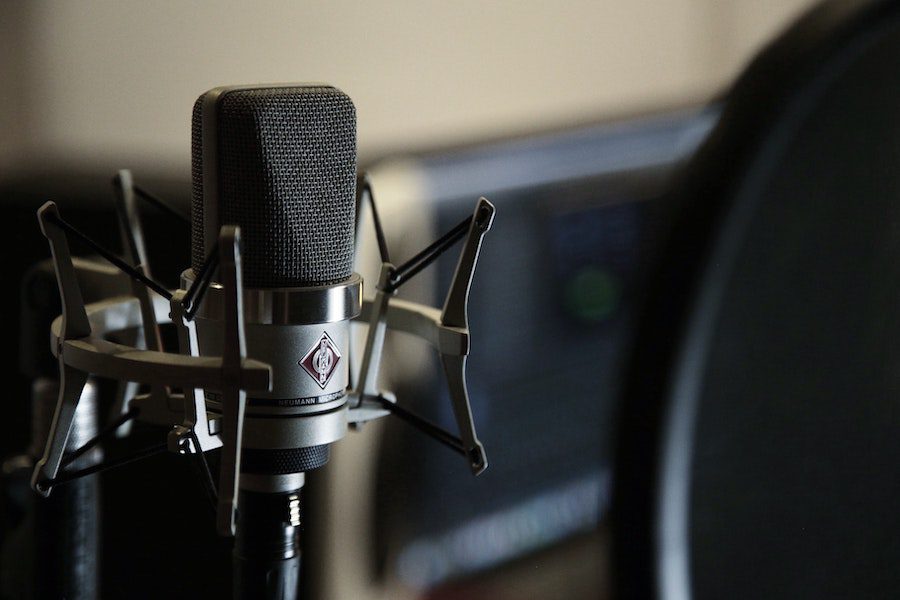
For those just starting out or when you need a simple setup, the one-microphone technique is an awesome way to go. This method is all about capturing the whole kit as a single, cohesive sound, just like your ears hear it in the room.
- Placement: Put a single microphone above your kick drum, facing the drummer. The goal is to get a balanced sound of the entire kit without the cymbals sounding too harsh or bright.
- Why It Works: This is the “keep it simple” approach. It forces you to think about how your kit sounds as a whole, which is a great lesson in balancing your own internal volume. It’s also perfect for demos and lo-fi recordings.
Setup 2: Spaced Pair Overheads (The Classic Studio Vibe)
This is one of the most common two-mic setups out there. It’s perfect for creating a wide, natural stereo image of your kit and is a fantastic way to capture the entire performance.

- Placement:
- Place two large- or small-diaphragm condenser mics as overheads.
- Position them a few feet above the kit, aiming towards the snare and toms.
- Angle the mics to capture the kit but avoid pointing them directly at a wall, which can cause weird room reflections.
- Add a third microphone on the kick drum for that extra low-end punch.
- Why It Works: The spaced overheads give you a big, wide stereo field that sounds just like you’re in the room. This setup is awesome for capturing the cymbal wash, tom fills, and the overall feel of the performance.
Setup 3: The Glyn Johns Method (The Rock and Roll Alternative)
The Glyn Johns method is a legendary technique that’s been used by some of the greatest rock bands ever. It’s a smart way to get a balanced, mono-compatible sound with a truly unique stereo image.

- Placement:
- Place one overhead mic directly over the snare, pointing down toward the kick.
- Put a second overhead mic at the 3 o’clock position (from the drummer’s view), about 6 to 12 inches above the floor tom, pointing toward the hi-hat.
- This is key: Use a tape measure or a piece of string to make sure both of these mics are the exact same distance from the snare drum. This prevents phase issues.
- Add a microphone on the kick drum and another on the snare to bring them forward in the mix.
- Why It Works: This method is all about capturing the essence of the whole kit with the overheads. The kick and snare mics are just there to add that extra punch and clarity, making this a powerful and versatile setup for almost any genre.
Setup 4: The Three-Mic Approach (The Perfect Next Step)
Once you’re comfortable with two-mic setups, a three-mic configuration is the perfect next move. It adds more control without being overwhelming.

- Placement: Start with a standard stereo overhead setup, and then add a third mic to the part of the kit that needs more love. The most common spots are:
- Kick Drum: To give your low-end more power and punch.
- Snare Drum: To get that extra snap and attack, especially if your overheads are a bit far away.
- Why It Works: This setup gives you the best of both worlds—the overall sound of the kit from the overheads, plus the ability to bring a specific element, like the kick or snare, to the front of the mix. It’s a great setup for a huge range of musical styles.
Setup 5: The ‘What You Hear vs. What They Hear’ Method
This isn’t a traditional recording technique, but it’s a brilliant learning tool for drummers who want to understand their sound better. It helps you hear what others are hearing, which can be super helpful for improving your playing and tuning.

- Placement:
- Put one microphone near your head to capture your personal perspective—the sound you hear while you’re playing.
- Place a second microphone further away from the kit, between 6 to 20 feet, to capture the “audience perspective.”
- Why It Works: By listening to both recordings, you can easily hear the differences between how you perceive your playing and how it sounds to others. It’s an invaluable tool for finding balance issues between your kick, snare, toms, and cymbals that you might not notice from the drum throne.
Going Beyond: Level Up Your Miking Game
Once you’re a pro at these setups, you can start exploring more advanced techniques. A full “ultimate” mic setup can include:
- Kick Drum: A two-mic combo to capture both the attack and the low-end thump.
- Snare Drum: A mic on top and one on the bottom to get both the crack of the stick and the sizzle of the snares.
- Toms: Close mics on each tom to give you individual control over every drum.
- Hi-Hat: A dedicated mic for added clarity and control.
- Room Mics: A mono or stereo pair of room mics to capture the awesome natural reverb and vibe of your space.
Conclusion: It’s All About Trusting Your Ears

Look, mic placement is an art, not a science. The five setups above are just a starting point, not a rulebook. The most important tool you have is your ears. Always listen to your recordings, mess around with different mic positions, and don’t be afraid to try something new. A well-tuned kit, a good-sounding room, and a little bit of creative exploration will always get you a great drum recording, no matter what gear you’re using. Now go set up those mics, and get to it!